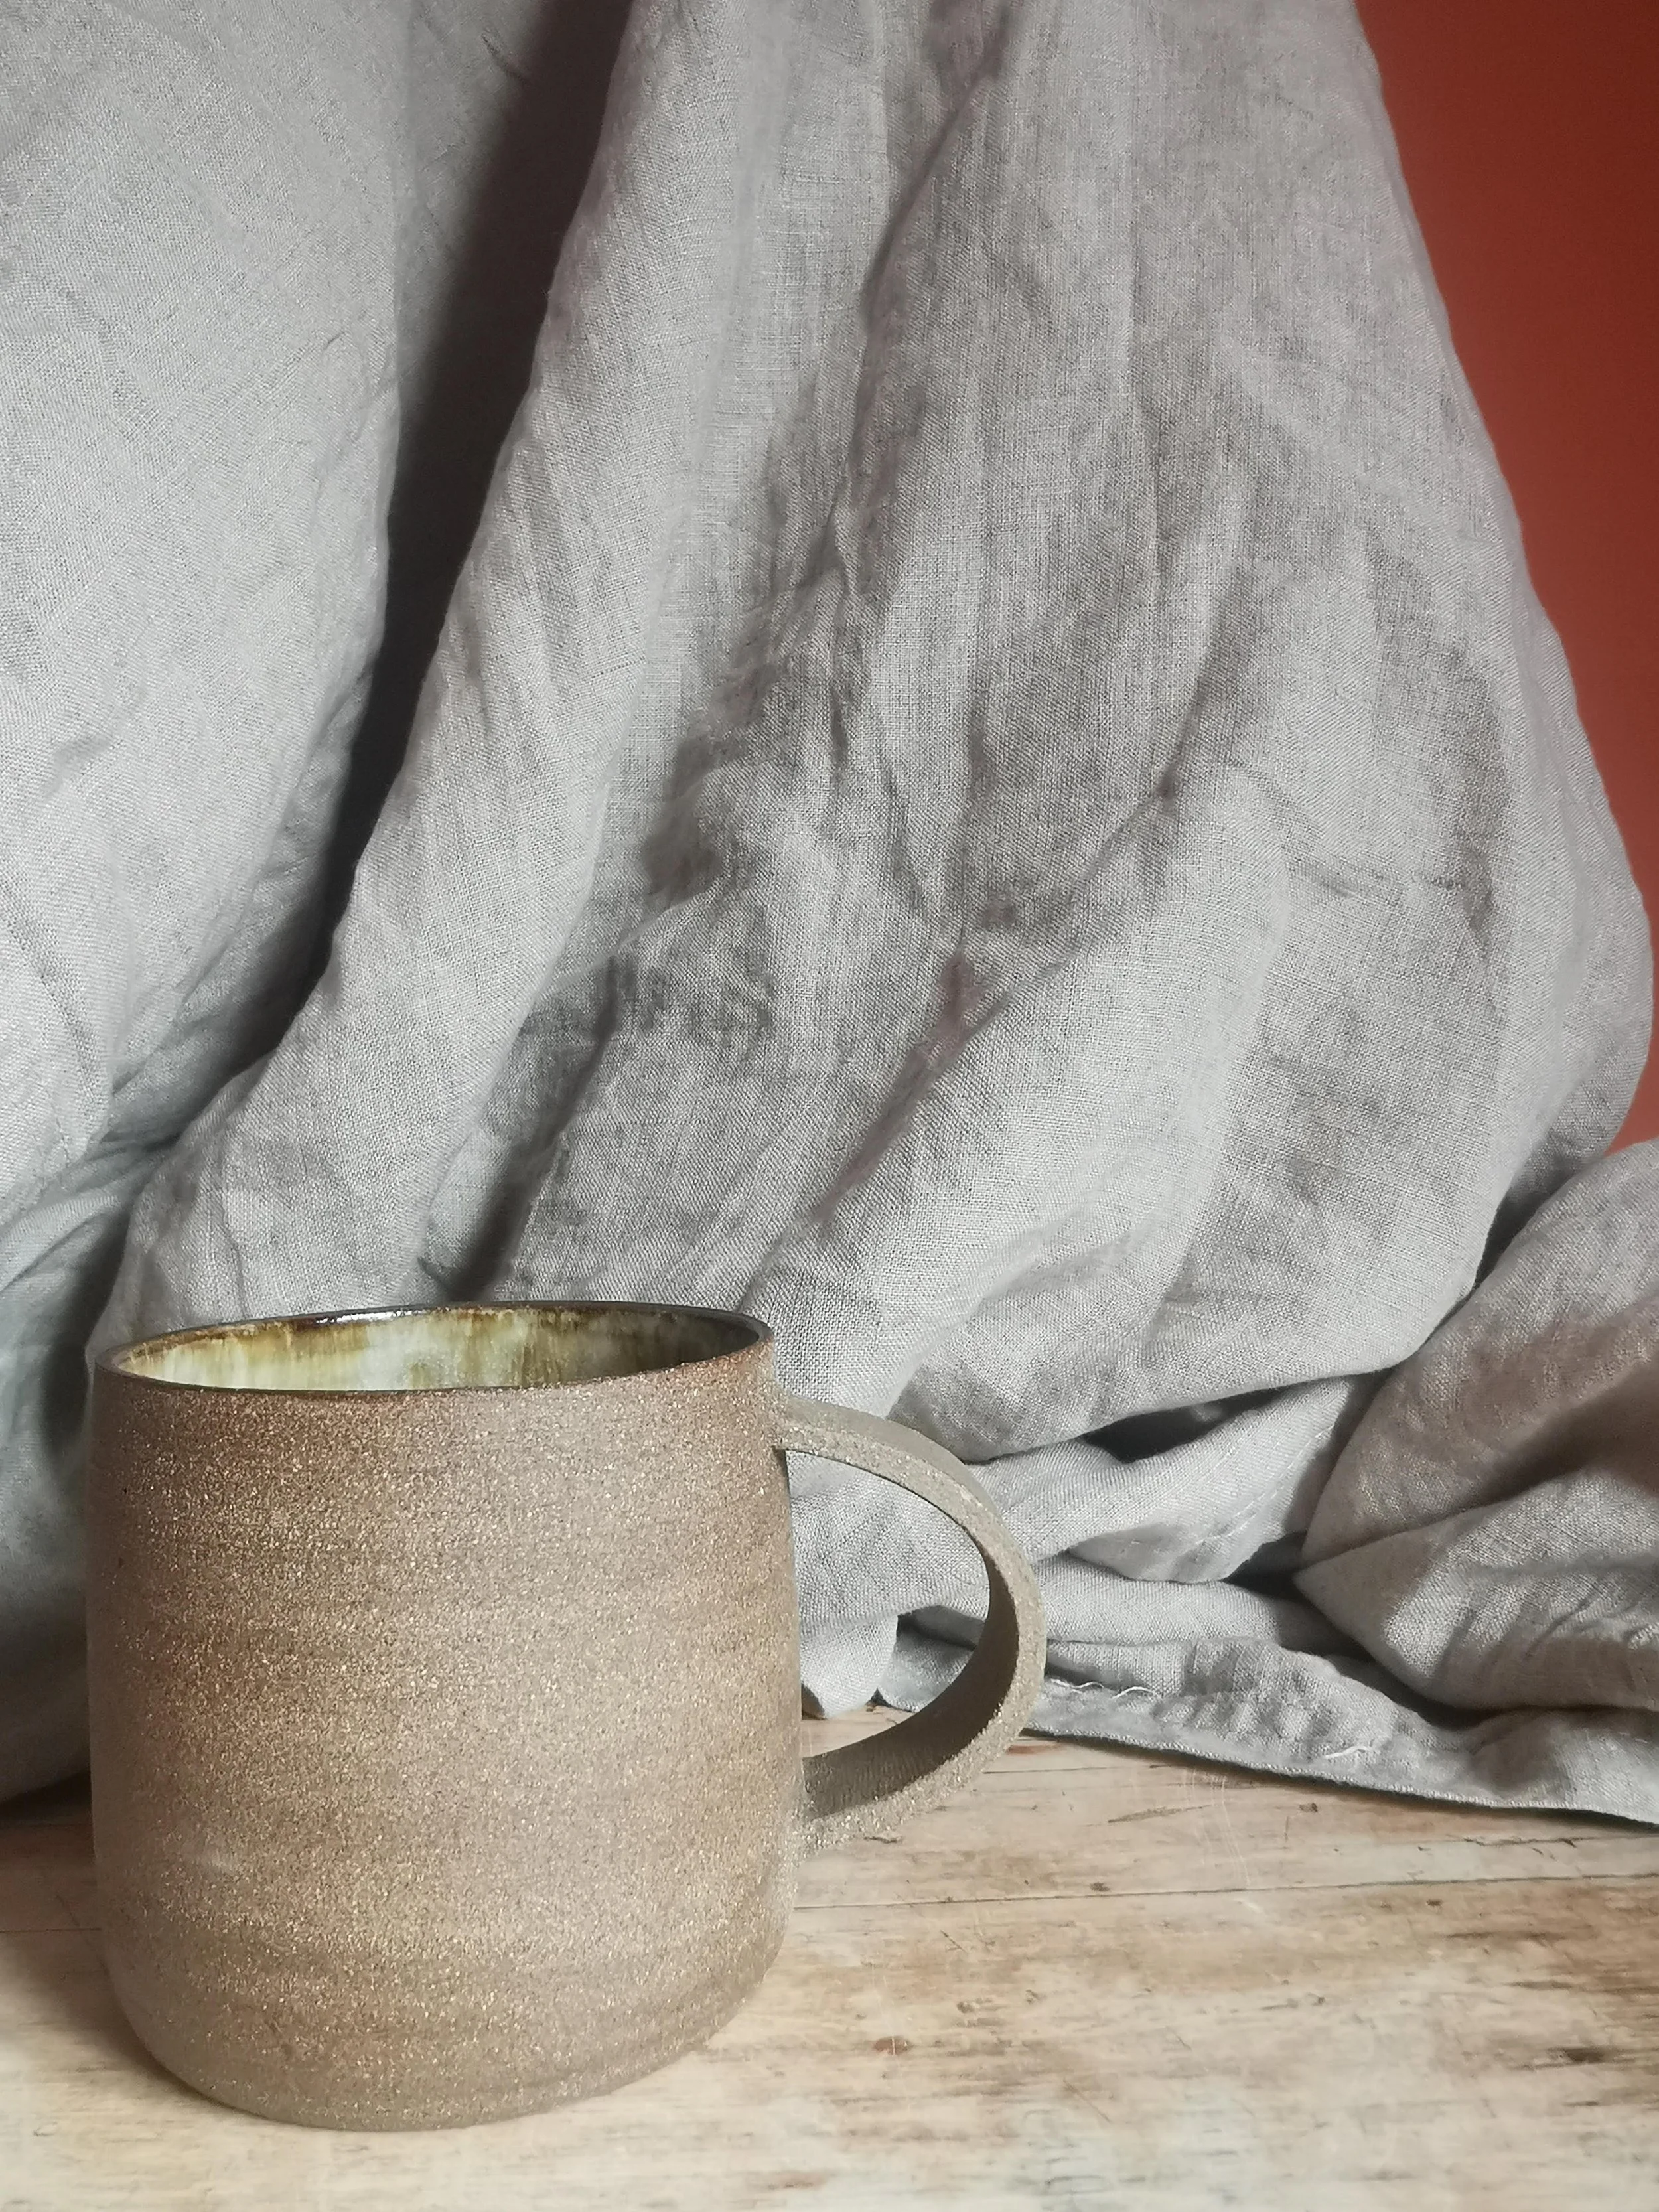
Mug Handles - Pulling and Slab Techniques
Creating a beautifully crafted mug involves more than just shaping the body of the vessel. The addition of a well-designed handle not only adds functionality but also enhances the aesthetic appeal of the piece. In this blog post, we'll delve into the art of adding handles to your mugs, exploring the two main techniques: pulling and slab-building. We'll also cover important aspects such as scoring and slipping, clay moisture levels, reinforcement methods, drying, and proper handling during the drying process.
Pulling vs. Slab Techniques
1. Pulling Technique:
Pulling handles is a classic pottery technique that involves taking a small amount of clay and gently pulling and stretching it into the desired handle shape. This technique allows for the creation of unique, organic forms that complement the mug's overall design. To start, follow these steps:
Begin with a properly wedged piece of clay. Take a small portion and roll it into a thick, even cylinder.
Hold one end of the cylinder with one hand while using the other hand to gently pull and stretch the clay, gradually shaping it into the desired handle form.
Attach the pulled handle to the mug by scoring both the attachment points (where the handle meets the mug) and slipping some clay-water mixture over the scored areas.
Blend the handle into the mug's body, ensuring a seamless transition.
2. Slab Technique:
Slab-building offers a more controlled approach to creating handles. This method involves cutting out a handle shape from a slab of clay and attaching it to the mug. Here's a breakdown of the process:
Roll out a slab of clay to an even thickness.
Use a template or freehand to cut out the handle shape from the slab.
Score and slip the attachment points on both the handle and the mug.
Gently attach the handle, taking care to press and blend the edges for a smooth connection.
Scoring and Slipping:
Regardless of the technique you choose, scoring and slipping are crucial steps for a strong handle attachment. Scoring involves creating shallow marks on both the handle and the mug's surface to provide more surface area for the slip to adhere to. Slipping is the application of a mixture of clay and water that acts as a glue to hold the pieces together. Proper scoring and slipping ensure a secure bond that can withstand the stresses of daily use.
Balancing Clay Moisture Levels:
For successful handle attachment, it's essential that both the handle and the mug are at similar moisture levels. Mismatched moisture levels can lead to cracking, warping, or detachment. To prevent this, consider using a spray bottle to lightly mist both the handle and the mug before attaching them.
Reinforcement Methods:
To enhance the durability of your mug handles, consider incorporating reinforcement techniques:
Vinegar: Brushing a diluted vinegar solution onto the scored and slipped areas before attaching the handle can strengthen the bond during firing.
Paper Clay: Mixing paper fibers into your clay can add tensile strength to the handle, making it more resilient.
Drying and Proper Handling:
After attaching the handle, allow the mug to dry slowly and evenly. Covering the mug with plastic, loosely wrapped, can help control the drying rate and prevent cracking. Avoid placing the mug in direct sunlight or near heat sources, as rapid drying can lead to uneven moisture distribution and structural weaknesses.
Conclusion
The addition of handles to your pottery mugs is a creative process that requires attention to detail and a solid understanding of various techniques. Whether you opt for the organic feel of pulled handles or the precise edges of slab-built ones, mastering these techniques will elevate your pottery skills and result in stunning, functional pieces of art. Remember, each step, from proper attachment methods to reinforcement strategies, contributes to the overall strength and beauty of your final creation. So, go ahead and experiment, refine your skills, and watch your mugs transform into exquisite masterpieces.

